Key Takeaways
-
Securing BluFano to MOLLE is optional: the air-redirect spout slides under the vest edge on its own, and the stretchy strap only adds stability when a sturdy MOLLE point or vest button is available.
-
Never cut, sew, or puncture your armor or carrier to mount the fan; use the existing opening along the vest edge and choose spout-only mounting if no safe attachment point exists.
-
Keep the strap snug but not tight, since over-tightening can shift your carrier out of place, and keep the intake and outlet clear of jackets, pouches, or radios.
-
Test stability by bending, reaching, twisting, and walking before duty, then recheck the strap and spout position every few hours during your shift.
If you wear body armor all day, you know the struggle. The heat builds up, sweat piles on, and the last thing you want is a cooling fan that slides around every time you bend or reach. Good news: learning how to secure BluFano to MOLLE is easier than most people think, and a few smart habits can keep your unit steady all shift long.
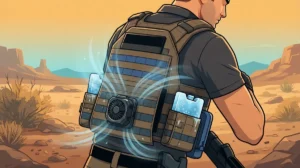
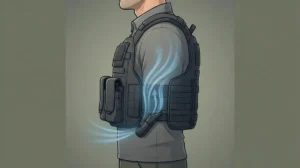
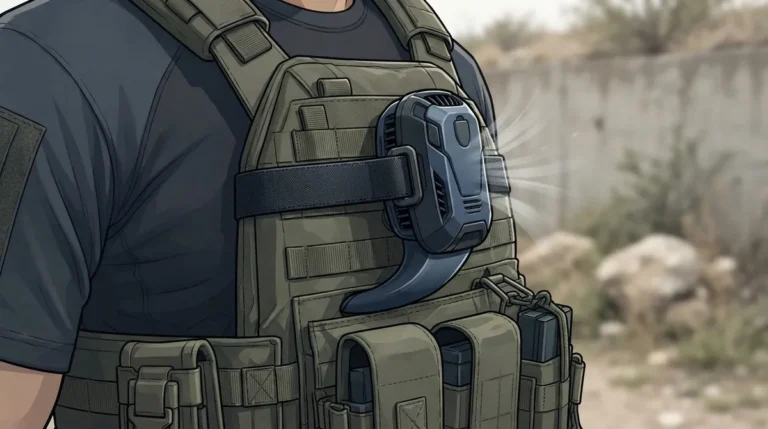
BluFano is a battery-powered fan with a patented air-redirect spout. That spout slides under your vest edge and sends fresh air into the gap between your carrier and your body. MOLLE is a helpful bonus, but it is not required. In this guide, we will walk through 15 friendly, practical tips to mount, steady, and check your BluFano so it works hard without getting in your way. Whether you patrol a beat, guard a site, or work a hot call, these steps are for you.
First, What Does Securing BluFano to MOLLE Really Mean?
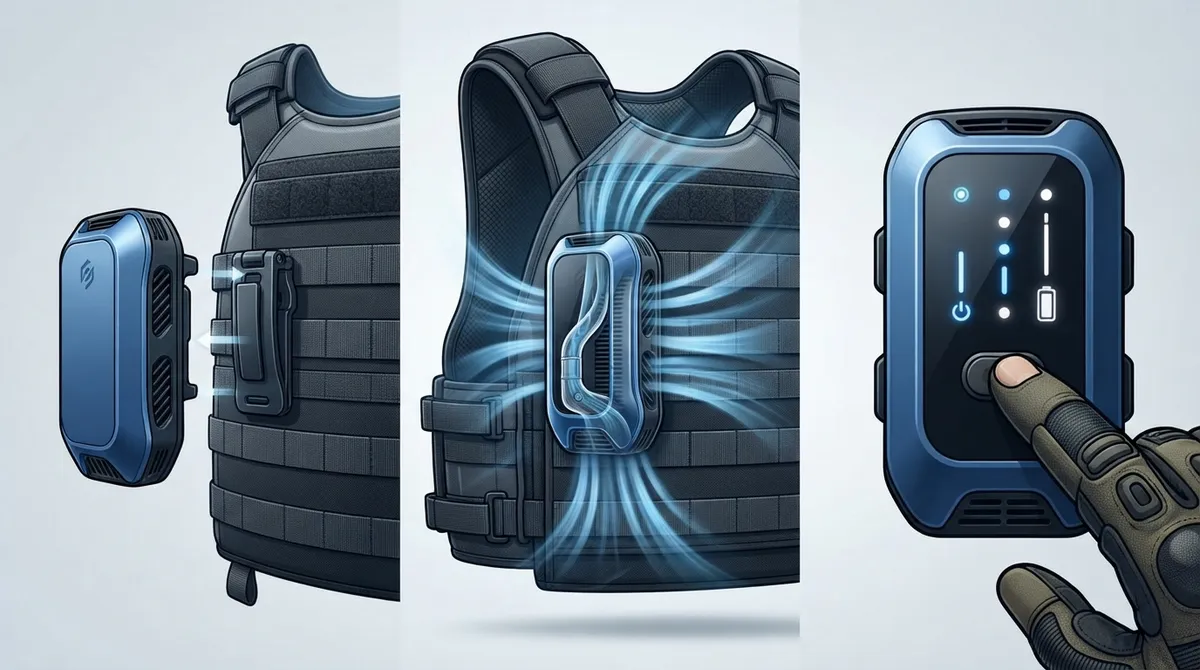
Let’s clear this up right away. BluFano does not need MOLLE webbing to work. The spout can slide under the vest by itself. The optional stretchy strap simply adds stability when your carrier has a sturdy MOLLE point or a vest button nearby.
So when we talk about how to secure BluFano to MOLLE, we mean using that optional strap with a strong attachment point. Think of it as a seatbelt for your fan. The spout does the cooling. The strap keeps things in place.
Here is a quick look at your two main options:
| Method | Needs MOLLE? | Best For | Main Benefit |
|---|---|---|---|
| Spout-only | No | Concealed carriers, light movement | Fast, simple setup |
| Strap-assisted | Helpful, not required | Outer carriers, active duty | Extra stability |
Want to compare both in more detail? Check out this guide on BluFano strap vs. spout-only mounting.
15 Ways to Secure BluFano to MOLLE and Keep It Steady
1. Put On Your Carrier First
Start by wearing your vest the way you normally do. Adjust the straps, cummerbund, and shoulders until it fits as you would on duty. Mounting a fan on a loose or half-adjusted vest leads to a poor fit later.
2. Find an Existing Opening
Look for the natural gap along the vest edge or panel. This is where the spout will slide in. You should never need to cut, puncture, or sew anything. If you want to know why modifying gear is a bad idea, read this piece on cutting holes in body armor.
3. Slide the Spout In Gently
Ease the air-redirect spout beneath the panel with the outlet aimed toward the gap between your carrier and your body. Go slow. If it feels tight, stop and try a different spot. Never force it.
4. Pick a Sturdy MOLLE Point
If you plan to use the optional strap, choose a strong, well-stitched MOLLE point or a vest button. Avoid loose or frayed webbing. A solid anchor keeps the unit from drifting when you move.
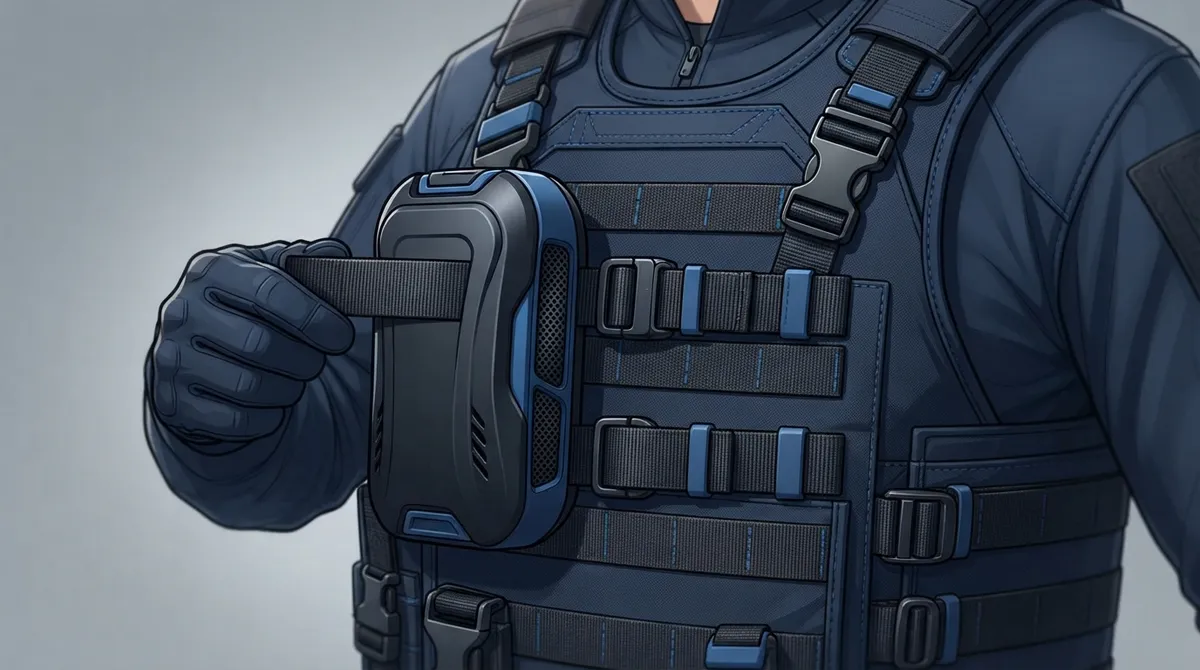
5. Connect the Optional Strap
Attach the stretchy strap to your chosen point. Keep it snug and secure. The product information does not list a universal MOLLE row or slot pattern, so use what works on your specific carrier and follow the BluFano instructions.
6. Avoid Too Much Tension
Snug is good. Tight is not. If the strap pulls the unit hard or shifts your carrier, loosen it a bit. The strap should steady the fan, not tug on your armor.
7. Keep the Intake Clear
The fan needs to breathe. Make sure nothing blocks the intake, such as a jacket, radio, pouch, or strap. A blocked intake means weak airflow and a warmer you.
8. Keep the Spout Outlet Open
Just like the intake, the outlet needs a clear path. Check that clothing is not folded over it. A clear outlet pushes air right where you need it.
9. Turn It On and Feel the Air
Switch on the unit and check that air reaches the gap under your vest. You should feel a gentle flow across your torso. If you do not, nudge the spout and try again.
10. Test Your Range of Motion
Bend, reach, twist, and walk around. Do this before duty or any hard activity. Make sure the fan stays put and does not poke, pinch, or shift your armor.
11. Check for Gear Conflicts
Look at nearby pouches, radios, and straps. Your BluFano should not rub against them or make drawing equipment harder. Move the unit a little if you spot any conflict.
12. Use Spout-Only When MOLLE Is Missing
No MOLLE on your carrier? No problem. A concealed carrier often has no webbing, and the spout-only method still works well. This is a great fit for plainclothes work and lower-profile roles.
13. Recheck Mid-Shift
Gear shifts through the day. Every few hours, take a quick moment to confirm the strap is snug and the spout is still pointed the right way. A five-second check saves a lot of discomfort.
14. Pair It With Good Vest Fit
A well-fitted vest makes every cooling tool work better. Our guide on how vest fit affects cooling airflow explains why this matters so much.
15. Follow Maker Guidance
Always follow the BluFano instructions and your armor or carrier maker’s advice. If you cannot find a safe attachment point or enough clearance, fall back on the spout-only method or choose a different position.
Quick Setup Checklist
Here is a simple order to follow each time you gear up:
- Wear and adjust your carrier as normal.
- Find the existing opening along the vest edge.
- Slide the spout in gently with the outlet aimed at the body gap.
- Attach the optional strap to a sturdy MOLLE point or vest button.
- Check that the intake and outlet are clear.
- Turn the unit on and confirm airflow.
- Bend, reach, twist, and walk to test stability.
- Adjust as needed and recheck during your shift.
Want a visual walk-through for outer carriers? Take a look at how to mount BluFano on an outer vest in 7 easy steps.
Common Mistakes to Avoid
Even careful people slip up now and then. Here are the mistakes we see most often:
- Forcing the spout into a tight space. This can bend the spout or shift your armor.
- Over-tightening the strap. Too much pull can move your carrier out of place.
- Blocking the intake. A pouch or jacket in the way ruins airflow.
- Skipping the movement test. A fan that feels fine standing still may slide when you run.
- Modifying gear. Never cut, sew, or puncture your armor or carrier.
For a deeper look at what to avoid, read these body armor cooling fan mistakes.
Why Airflow Under Armor Matters So Much
Body armor traps heat and moisture. That is just how it works. When heat has nowhere to go, you feel tired, distracted, and sweaty. The OSHA heat stress guide highlights how heat exposure can lead to serious illness, which is why cooling tools are more than a comfort bonus.
Armor standards set by groups like the National Institute of Justice focus on protection, not comfort. That means it is up to you to manage the heat. A fan that stays in place and moves air steadily helps you stay sharper and safer.
Which Setup Fits Your Role?
Every job is a little different. Here is a simple guide to help you choose:
| Role | Suggested Setup | Why |
|---|---|---|
| Patrol officer | Strap-assisted on outer carrier | Lots of getting in and out of the car |
| Plainclothes or concealed | Spout-only | Low profile, no MOLLE needed |
| Security guard | Either, based on carrier | Long standing and walking shifts |
| Tactical or SWAT | Strap-assisted with careful testing | High movement, heavy gear |
| Emergency responder | Strap-assisted where space allows | Fast, physical work |
Boost Your Cooling With BluHalo
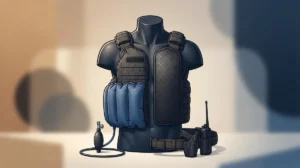
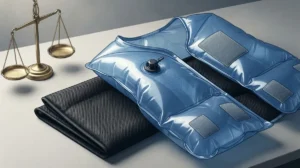
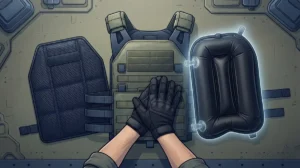
Here is a pro tip. BluFano gives you active, fan-driven airflow. BluHalo adds an inflatable air gap that lifts your vest up to about 1.5 inches off your body. Together, they create a strong one-two punch against heat and sweat. BluHalo was created by a Chicago police officer who knew the heat problem firsthand, and it weighs under 7 ounces.
Curious how they compare? See BluFano vs BluHalo or learn more about the BluFano fan system itself. You can also read real stories on the reviews page.
Final Thoughts
Learning how to secure BluFano to MOLLE is really about three things: a sturdy anchor point, a clear airflow path, and a quick movement test. You do not need to modify your gear, and you do not need MOLLE for the basic setup. Start with the spout, add the strap if your carrier allows, and always check for comfort and clearance.
Ready to cool down and stay focused on the job? Browse the BluHalo shop to pick up BluFano or bundle it with BluHalo for even more relief. Have questions about fit or setup? Get in touch with our team and we will gladly help you find the right solution.
FAQs
Q: Does BluFano require MOLLE to stay in place?
A: No, it does not. The air-redirect spout slides under your vest edge and can work on its own. The optional stretchy strap simply adds extra stability when your carrier has a sturdy MOLLE point or vest button.
Q: Which MOLLE point should I use for the BluFano strap?
A: Choose a strong, well-stitched MOLLE point or vest button near where the fan sits. Avoid loose or frayed webbing. There is no universal slot pattern listed, so follow the BluFano instructions and your carrier maker’s guidance.
Q: Can I use BluFano with a concealed carrier that has no MOLLE?
A: Absolutely! The spout-only method works great for concealed carriers. Just slide the spout gently under the vest edge, aim the outlet at the body gap, and test your movement before heading out.
Q: How can I tell if my BluFano airflow is positioned correctly?
A: Turn it on and feel for air across your torso under the vest. Make sure the intake and outlet are not blocked by clothing or gear. If the air feels weak, nudge the spout and check again.
Q: Can I modify my vest or carrier to fit BluFano?
A: Please don’t. You should never cut, sew, puncture, or alter your armor or carrier. If there is no safe attachment point or enough clearance, use the spout-only method or try a different position.