Key Takeaways
-
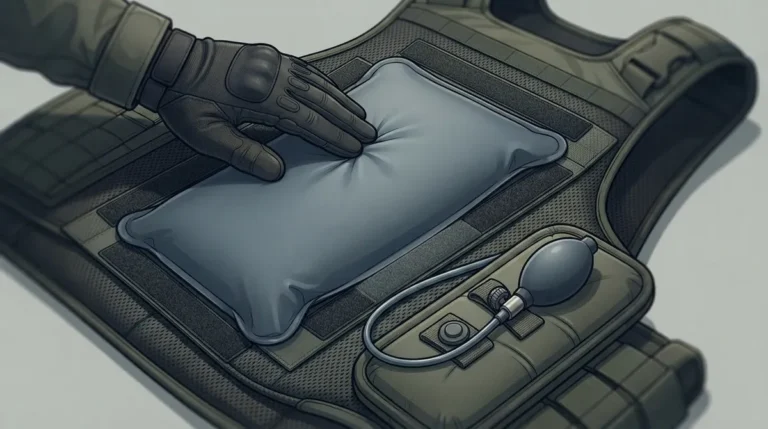
Clean the carrier's interior with a dry cloth before attaching BluHalo, since dust and sweat residue weaken the hook-and-loop bond.
-
Place the deflated device in the torso position where you need the most airflow, line up the Velcro pieces, and press each point firmly for a few seconds.
-
Smooth the device flat with no folds, wrinkles, or pressure points, then confirm the pump and release button are easy to reach.
-
Test the install before each shift: inflate slowly, check that the armor stays in position, move through sitting, reaching, and bending, then confirm it deflates flat.
-
Check compatibility first, especially with mesh-lined carriers where adhesive-backed attachment may not hold; ask the armor maker or a qualified tailor before any modification.
-
Never sew, cut, or alter your carrier without manufacturer or qualified tailor approval, because armor fit is safety-critical.
If you wear body armor for a living, you know the feeling. Your shirt is soaked by mid-shift, the heat feels stuck against your chest, and all you want is a little breathing room. That is exactly why people look into BluHalo, a lightweight inflatable device that gives your vest a cooling air gap on demand.
The good news is that learning how to install BluHalo on body armor is not complicated. Most people finish the basic setup in just a few minutes. Still, a little care goes a long way. A clean surface, smart placement, and a quick test run can make the difference between a device that stays put and one that slides around all shift.
In this friendly guide, we will walk through every step. We will cover what you need, how to attach it, how to test it, and what to watch for with different carrier materials. Whether you are a patrol officer, a deputy, a security pro, or a first responder, you will leave with a clear plan. Let’s get you cooler and more comfortable.
What Is BluHalo and How Does It Work?
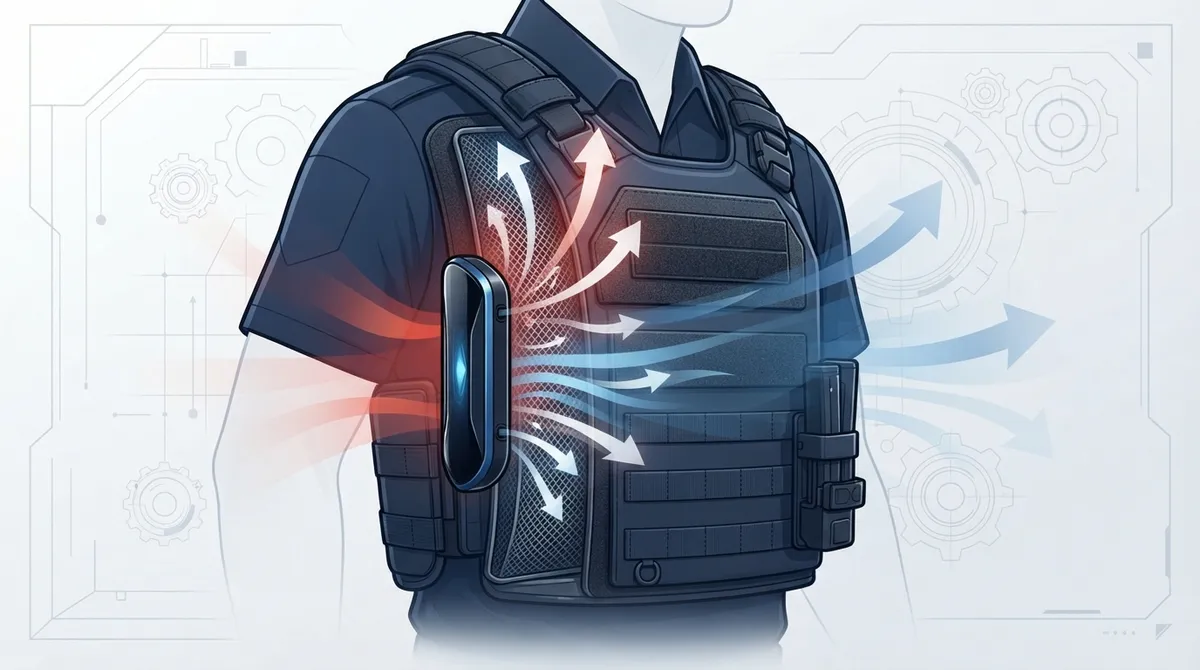
Before we jump into installation, it helps to know what you are installing. BluHalo is an inflatable ventilation device that sits inside your body armor carrier. It is an add-on. It does not replace your armor, and it is not a full garment.
When you inflate it with a small manual pump, it creates a gap between your body and your vest. That gap lets air move and helps heat escape. When you are done, you press a release button and it deflates and lies flat again.
Here are the key features, based on available product information:
- Lightweight: The product is listed at about 7 ounces (roughly 198 grams).
- Cooling on demand: You inflate it only when you need it.
- Air gap lift: It is described as lifting the vest up to about 1.5 inches (around 3.8 cm) when inflated. This is a product claim, so your results can vary with your carrier and fit.
- Low profile: It sits flat and unobtrusive when deflated.
- Durable build: It uses double-layer, high-strength polyethylene.
BluHalo was created by a Chicago police officer who knew the problem firsthand. That real-world roots story is part of why so many officers trust it. If you want a deeper look at the idea behind this kind of gear, check out our guide on what vest ventilation is and why you need it.
What You Need Before You Start
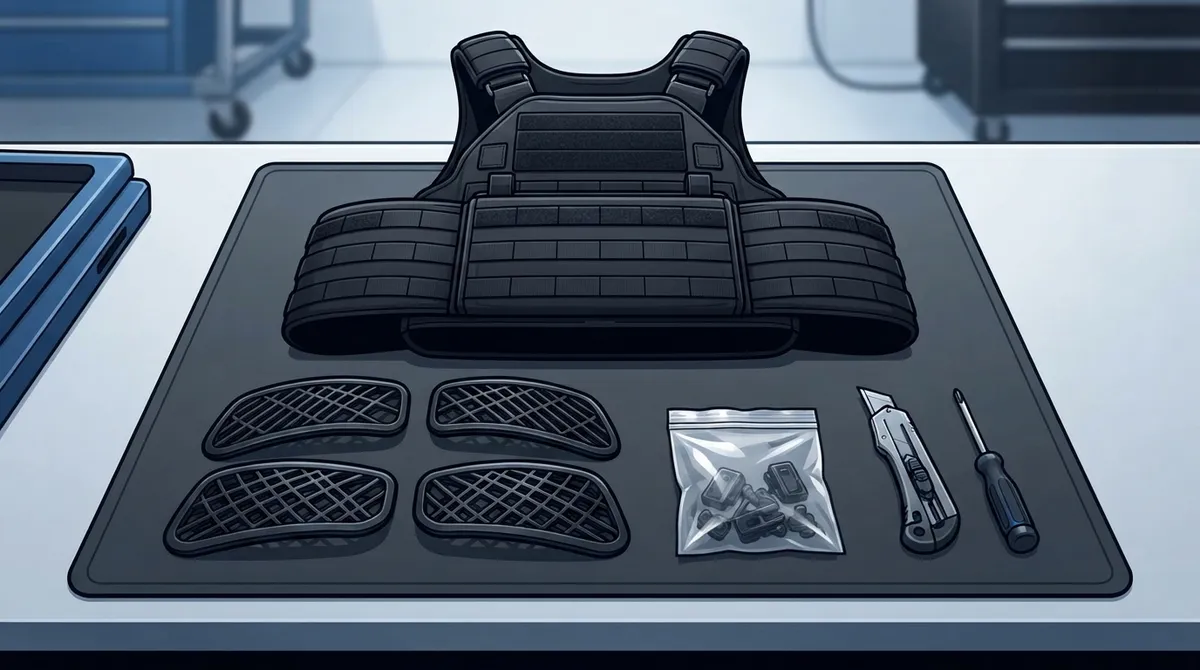
Good news: you do not need a toolbox. But a few small things will help you get a clean, secure install.
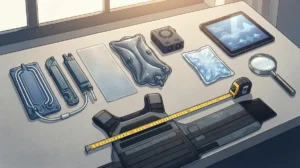
- Your BluHalo device and its manual pump
- The hook-and-loop (Velcro) attachment pieces that come with your product
- Your body armor carrier, empty and laid flat
- A clean, dry cloth or wipe
- A safe, comfortable spot to test the device
A quick note on attachments. What is included in the package and the exact instructions can vary by product version. Always check the current package or manufacturer guidance first. If anything in your box looks different from what you read here, trust the manufacturer’s instructions.
Check Compatibility First
This step matters more than any other. Do not assume every accessory works with every carrier. Armor fit is safety-critical, and an add-on should never change how your armor protects you.
Before you install anything, ask yourself:
- Does my carrier have enough interior space for the device?
- Is the inside lining a material that Velcro can grip?
- Will the inflated device keep my armor in its intended position?
If you are unsure, talk to your armor manufacturer or your agency’s armor specialist. You can also contact our team with questions about your setup. The National Institute of Justice body armor resources are also a helpful place to learn about armor standards and proper use.
How to Install BluHalo on Body Armor: Step by Step
Now for the main event. Here is a simple, practical setup process. Many BluHalo-related pages describe attachment as taking less than a minute, though that is promotional guidance. Take your time the first round and get it right.
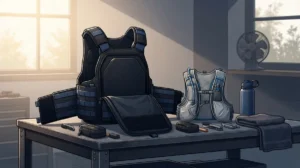
- Lay your carrier flat. Open it up on a table so the inside is easy to reach. Make sure the carrier is clean and dry.
- Wipe the interior surface. Use a clean cloth to remove dust, lint, and sweat residue. Hook-and-loop attachments hold much better on a clean surface.
- Place the deflated BluHalo. Set it against the inside of the carrier, in the torso position it is meant to sit. Think about where your back or chest needs the most airflow.
- Line up the hook-and-loop surfaces. Match the Velcro pieces on the device with the ones on your carrier. Take a moment to make sure everything is straight.
- Press firmly to secure. Hold each attachment point for a few seconds so the bond sets well.
- Smooth out the device. It should lie flat with no folds, wrinkles, loose edges, or pressure points. A smooth install is a comfortable install.
- Check your pump and release button. Make sure you can reach both easily. You want quick access without fumbling during a shift.
That is the core process. Simple, right? The real magic comes next, when you test everything before you head out the door.
How to Test Your Install Before a Shift
Never skip the test. A quick check in a safe setting can save you from a bad surprise on duty.
Run a Fit and Inflation Check
- Put on your carrier the way you normally wear it. Adjust your straps and closures as usual.
- Inflate BluHalo with the manual pump. Go slowly and stop at a comfortable level. More is not always better.
- Check that your armor still sits where it should. If it shifts, rides up, or feels off, deflate right away.
- Move around. Sit, stand, twist, reach, and bend. Make sure your mobility is not restricted.
- Press the release button and confirm the device deflates and lies flat again.
If anything feels wrong at any step, stop and deflate. Comfort should never come at the cost of proper armor fit. Your vest needs to stay where it was designed to be.
Will It Stick? Carrier Materials Matter
Here is something many people do not think about until it happens. The inside material of your carrier changes how well the attachment holds.
One user review reported that adhesive-backed hook-and-loop did not hold reliably on a breathable mesh lining. They solved it by sewing the pieces on or having a professional alter the carrier. This is just one person’s experience, not a rule. But it is a useful reminder.
| Carrier Interior Type | Attachment Outlook | What To Do |
|---|---|---|
| Smooth, tightly woven fabric | Usually grips well | Clean the surface and press firmly |
| Fuzzy or loop-friendly lining | Often holds well with hook pieces | Test for a secure bond before use |
| Breathable mesh lining | May not hold adhesive backing reliably (anecdotal) | Ask a qualified tailor about a safe attachment method |
| Heavily padded or contoured liner | Varies by design | Test placement and check fit carefully |
A big caution here. Do not sew, cut, or alter your carrier on your own. Any modification should be approved by the carrier manufacturer or done by a qualified tailor. Armor is safety equipment, and its certified fit matters. When in doubt, ask your agency’s armor specialist first.
Tips for Placement and Comfort
Once your device is attached, small tweaks can make it feel even better.
- Think about heat zones. Most people feel the hottest, sweatiest spot along the back and chest. Position the device where you want the most airflow.
- Keep the pump within reach. If you cannot grab it easily, you will not use it. Make access simple.
- Avoid pressure points. If you feel a lump or hard edge, readjust the device until it lies flat.
- Inflate only as needed. A little lift can go a long way. Start low and add air if you want more.
- Deflate for tight spaces. Sliding in and out of a patrol car is easier with the device flat.
Many officers love the cooling-on-demand idea because it works with their shift, not against it. You can lift the vest during a hot patrol, then deflate when you step into a tight space. For more ideas on staying comfortable, take a look at our post on how to improve airflow under body armor.
How to Care for BluHalo and Its Attachment Points
A little upkeep keeps your device working well shift after shift. Always check the manufacturer’s guidance for the current model, but these habits are a smart place to start.
- Wipe the device down after hot, sweaty shifts so moisture does not build up.
- Let it air dry before storing it or putting it back in your carrier.
- Check the hook-and-loop surfaces now and then for lint, dirt, or wear.
- Look over the device for any signs of damage before each shift.
- Test inflation and deflation from time to time to make sure it still works well.
Taking a minute for these checks can help you catch small issues early. A well-kept device is a reliable device.
Pairing BluHalo With Blufano for Extra Cooling
BluHalo creates the air gap. But you can take comfort even further by adding airflow into that space. That is where Blufano comes in.
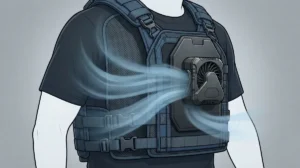
Blufano is an active fan system that slides under your body armor and moves fresh air through the gap. It features a patented air-redirect spout, adjustable airflow, a built-in 10,000mAh power bank, and a forward-facing light. Runtime ranges from about 8 to 32 hours depending on the setting. Together, the two products work as a team. BluHalo lifts the vest, and Blufano keeps air moving.
You can buy each one on its own or bundle them at a discount. If you want help deciding which is right for you, our comparison of BluFano vs. BluHalo breaks it all down. You can also browse everything in our shop.
Why Heat Management Matters on Duty
Staying cool is about more than comfort. Heat stress can affect focus, energy, and safety. The OSHA heat stress guide explains how heat exposure can lead to serious illness, which is why smart cooling habits matter.
Officers in hot climates often wear armor for 10 or 12 hours at a stretch. Trapped heat and sweat only make long shifts harder. A simple tool that creates airflow can help you stay sharper and more comfortable. To learn more about the risks, read our guide on how to prevent heat stress while wearing body armor.
Common Installation Mistakes to Avoid
Even simple setups can go sideways. Here are the mistakes we see most often, and how to dodge them.
- Skipping the cleaning step. Dust and sweat residue weaken the bond. Always wipe first.
- Leaving folds or wrinkles. A bunched-up device can create pressure points. Smooth it flat.
- Over-inflating. Too much air can push your armor out of position. Go slow and stop when it feels right.
- Skipping the test run. Always check fit and mobility before heading out.
- Altering the carrier without approval. Get the green light from the armor maker or a qualified tailor first.
- Blocking the pump or release button. You need easy access mid-shift.
Avoid these, and your install will likely go smoothly. If you hit a snag, we are always happy to help.
Your Cooler Shift Starts Here
Now you know how to install BluHalo on body armor from start to finish. Clean the surface, place the deflated device in the right torso position, secure the hook-and-loop pieces, smooth out any folds, and test inflation and deflation in a safe spot. Keep your pump and release button within easy reach, and always respect your armor’s fit.
Remember, armor fit is safety-critical. Check compatibility, follow manufacturer guidance, and never make unapproved changes to your carrier. When you take a little care up front, you get a device that works with you all shift long.
Ready to beat the heat? Have questions about your carrier or setup? Our team is here to help, so get in touch with us today and let’s find the right cooling solution for you.
FAQs
Q: How do you attach BluHalo to a body armor carrier?
A: Clean the inside of your carrier, place the deflated BluHalo in the torso position, and press the hook-and-loop (Velcro) surfaces firmly together. Smooth out any folds and keep the pump and release button easy to reach. Always check your package for the latest manufacturer instructions.
Q: Will BluHalo stick to a mesh-lined armor carrier?
A: It might not. One user reported that adhesive-backed hook-and-loop did not hold well on a breathable mesh lining, though that is just one person’s experience. If your carrier has a mesh interior, check with the carrier manufacturer or a qualified tailor before making any changes.
Q: How much does BluHalo lift body armor when inflated?
A: Product information says BluHalo can lift the vest up to about 1.5 inches when inflated. That is a manufacturer claim, so real results can vary with your carrier and fit. Inflate only to a comfortable level and deflate if your armor shifts.
Q: Can adding a ventilation device change how my body armor fits or protects me?
A: It can if it moves your armor out of its intended position, so fit matters. Test the device while wearing your carrier, and deflate it if the armor shifts or restricts movement. When in doubt, ask your armor manufacturer or agency armor specialist.
Q: How do I inflate and deflate BluHalo?
A: You inflate it with the small manual pump and deflate it by pressing the release button. Once it is deflated, it lies flat again inside your carrier. Practice both steps in a safe spot before your shift.