Key Takeaways
-
Clean the carrier's inside surface with a lint roller and make sure it is completely dry before attaching patches, since dirt, lint, and sweat are the top causes of grip failure.
-
Deflate the BluHalo fully and lay it flat on the inside of the carrier against your torso side, with no folds or twists, before pressing the patches on.
-
Press each patch firmly and hold for several seconds, then run your thumb along the edges and re-press any corner that curls up.
-
Follow the instruction sheet in your box over the article, since patch style and hardware vary by product version; avoid heat or sewing unless the manufacturer permits it.
-
After attaching, put the carrier on and test for shifting, bunching, and restricted movement or gear access, and reposition if the device does not sit centered.
You pulled your new BluHalo out of the box, and now you are staring at a small bag of hook-and-loop patches. Where do they go? How hard do you press? Will the thing stay put when you are running, climbing out of a cruiser, or standing a long post in the sun? Good news: it is simple. Once you know the steps, learning how to attach BluHalo Velcro patches takes just a few minutes.
This guide walks you through the whole process, from prepping your carrier to testing the fit before duty. It is written for officers, soldiers, security pros, SWAT team members, and first responders who wear armor every day and want a ventilation vest that stays exactly where it belongs. Let’s get your gear set up so you can stay cooler on your next hot shift.
What Is BluHalo and Why Do the Patches Matter?
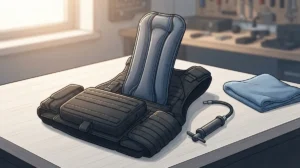
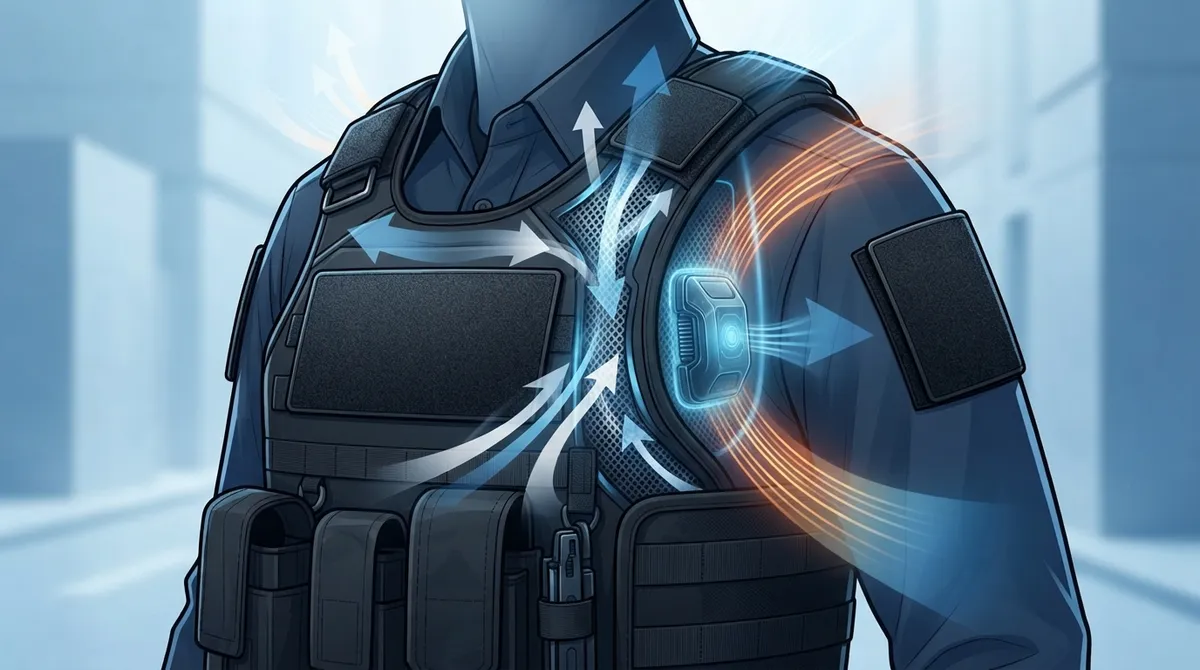
BluHalo is a lightweight ventilation device that sits between your body and your armor carrier. Per the manufacturer, it weighs under 7 ounces and lies flat when deflated. When you inflate it with the small pump, it can create an air gap of up to about 1.5 inches. That gap lets heat and moisture escape instead of getting trapped against your torso. These are manufacturer claims, not independent lab results, but many officers say the difference is easy to feel on long, hot days.
The Velcro-style patches are what hold everything in place. Without a solid attachment, the device could slide, bunch up, or shift when you move. A good attachment keeps the air gap right where you need it. If you want the big picture on how it all works, check out our guide on how to beat vest heat with BluHalo inflatable cooling.
What You Need Before You Start
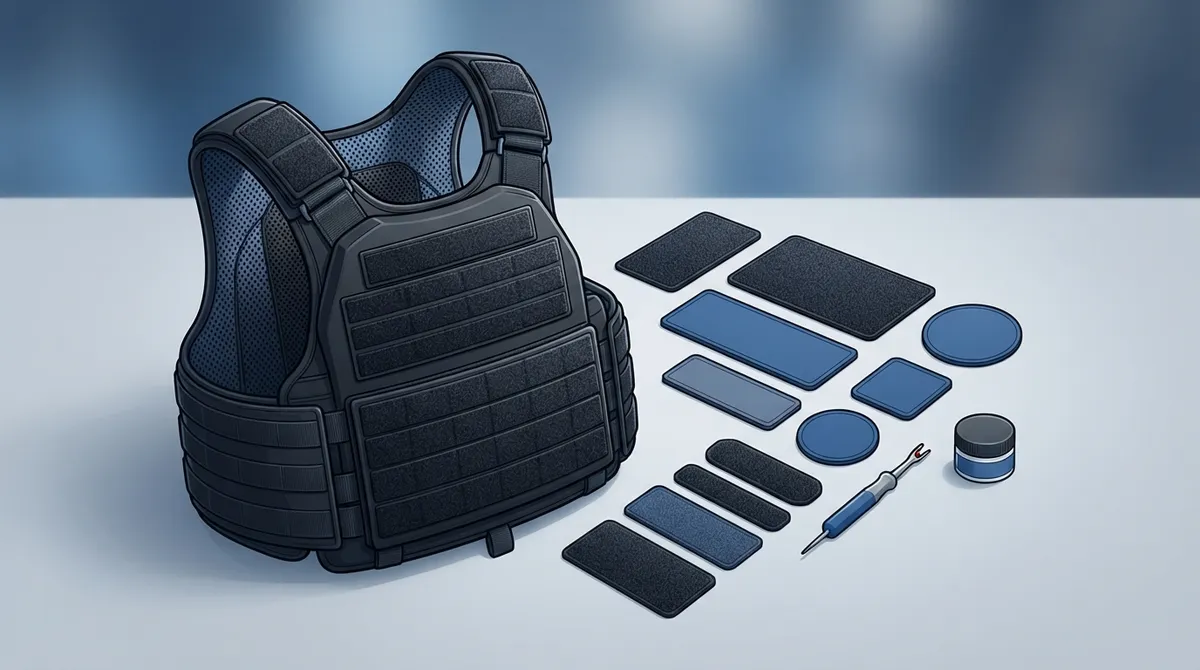
You do not need a toolbox. Gather these few items and you are ready to go:
- Your BluHalo unit, fully deflated
- The hook-and-loop patches that came with it
- Your body-armor carrier or ventilation vest
- A clean, dry cloth or lint roller
- A flat work surface, like a table or the hood of your vehicle
- The instruction sheet that shipped with your unit
Keep that instruction sheet nearby. Patch style and hardware can vary a little between product versions, so the printed instructions in your box always come first. If something in this article differs from your sheet, follow your sheet.
How to Attach BluHalo Velcro Patches: Step by Step
Here is the full process in order. Take your time on each step. A careful setup now saves you from adjusting gear in the field later.
- Remove the carrier from your body. Lay it flat with the inside facing up. Working on a flat surface makes it much easier to keep everything smooth and even.
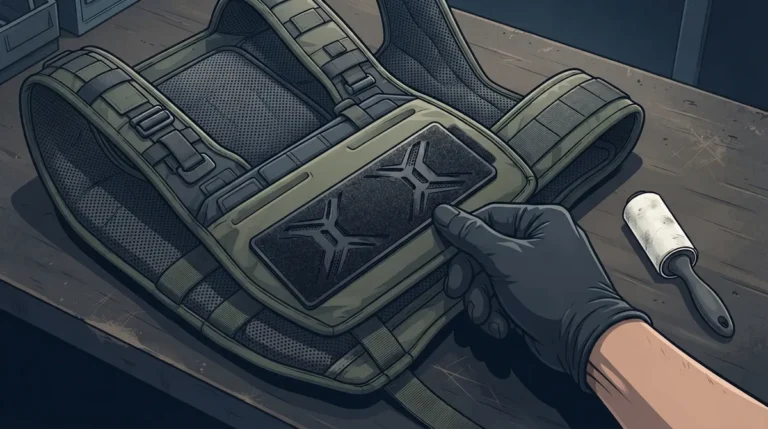
- Clean the attachment area. Wipe the inside of the carrier where the patches will sit. Remove lint, dirt, and dust. A lint roller works well for this. Dirt and lint are the number one reason hook-and-loop grip fails.
- Make sure it is completely dry. Sweat is the enemy of a good bond. If your carrier is damp from a recent shift, let it air out fully first. Adhesive-backed patches do not stick well to damp or dirty fabric.
- Deflate the BluHalo. Press the release button so the unit lies completely flat. You want it empty before you place it.
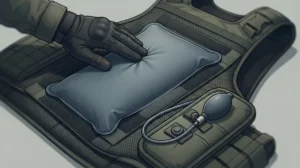
- Position the device. Lay the deflated BluHalo on the inside of the carrier where it will sit against your torso. Follow the orientation shown in your product instructions and keep it flat, with no folds or twists.
- Press the patches into place. Press each patch firmly against the carrier. Hold steady pressure for several seconds. Run your thumb across the edges so they lie flat and do not lift.
- Check every edge. Look closely at each patch. If a corner is curling up, press it down again. Edges are where patches tend to peel first.
- Test the hold. Give the unit a gentle tug. It should stay put without sliding or pulling loose.
That is it. Most people finish the whole routine in under ten minutes.
Where Should BluHalo Sit Inside the Carrier?
The device belongs on the inside of your carrier, against the side that faces your torso. You want it positioned so that when it inflates, it lifts the armor evenly away from your body. If it sits too high, too low, or off to one side, you may get uneven airflow or a lopsided feel.
A simple trick: put the carrier on after you attach the device and check how it sits against your chest and back. If it feels centered and comfortable, you nailed it. If not, peel it up gently and reposition. The product instructions show the intended orientation, so use that as your guide.
Not All Patches Are the Same
Here is something worth knowing. Depending on your unit, you may see peel-and-stick (adhesive-backed) patches. Some customers also mention other patch styles or installation approaches. Do not assume your patches are iron-on or sew-on. Using the wrong method can ruin the patch or even damage your gear.
| Patch Style | How It Attaches | Key Tip |
|---|---|---|
| Adhesive-backed (peel-and-stick) | Peel the backing and press firmly onto a clean, dry surface | Hold pressure for several seconds; avoid damp fabric |
| Hook-and-loop pairs | Hook side meets loop side to join the unit and carrier | Keep both surfaces free of lint and debris |
| Other included hardware | Varies by product version | Follow the instruction sheet in your box |
When in doubt, check your instructions. And never apply heat or sew through the device unless the manufacturer says it is allowed.
Check the Fit Before You Head Out
Once the patches are on, the job is not quite done. Put on your carrier and give the setup a quick test run. This takes two minutes and can save you a headache on shift.
- Look for shifting. Move around, twist, and bend. The device should stay in place.
- Check for bunching. Folds or wrinkles can be uncomfortable and may block airflow.
- Test your movement. Reach for your gear, sit in your vehicle, and raise your arms. Nothing should get in the way.
- Confirm gear access. Make sure you can still get to your equipment normally.
Most important, do not let any accessory compromise your carrier’s fit or protective function. Your armor has a job to do, and it must sit correctly on your body. If anything feels off, stop and fix it before duty. For more on getting your armor to sit just right, see our tips on body armor fit and airflow for all-day comfort.
How to Keep Your Patches Working Longer
Hook-and-loop gear is tough, but it does wear down. A little care keeps your BluHalo attached through many shifts. Here is a simple routine:
- Pick lint and debris off the hook-and-loop surfaces regularly
- Let your carrier dry fully after a sweaty shift before storing it
- Replace or repair worn attachment parts using the manufacturer’s guidance
- Avoid heat, irons, or sewing unless the manufacturer specifically permits it
Think of it like caring for any other piece of duty gear. A few seconds of upkeep after each shift adds up to a lot more life from your setup. Sweat management matters here too, and our article on how sweat management works under body armor explains why drier gear performs better overall.
Common Mistakes to Avoid
Even simple jobs have a few traps. Here are the slip-ups that cause the most trouble:
- Rushing the prep. Skipping the cleaning step is the top reason patches fail.
- Applying to a damp carrier. Moisture weakens the bond fast.
- Not pressing long enough. A quick tap is not enough. Press firmly and hold.
- Leaving the unit inflated while attaching. A puffy unit will not sit flat, and it may pull the patches off center.
- Ignoring lifting edges. A curling corner today becomes a loose patch tomorrow.
- Assuming every carrier is the same. Patches may not grip every fabric equally well, so always test the hold.
If you want a broader look at errors that can cut into your comfort, see 9 inflatable body armor ventilation device mistakes.
Who Benefits Most From a Secure Setup?
A solid attachment matters for everyone who wears armor, but different jobs put different demands on the gear. Patrol officers climb in and out of vehicles all shift. Military personnel move over rough terrain in hot climates. Security guards stand for hours with little chance to adjust. SWAT and tactical teams need gear that stays put during fast, high-intensity moves. Firefighters and emergency responders work in extreme heat where every bit of comfort counts.
No matter your line of work, the same rule applies: a device that shifts is a device that distracts. Taking a few extra minutes to attach your patches properly keeps your attention on the job instead of on your gear. Heat stress is a real safety concern, and the OSHA heat stress guide is a helpful reference for understanding the risks of working in hot conditions. You can also review body armor standards from the National Institute of Justice to make sure your overall setup stays within recommended practices.
Pair BluHalo With Blufano for Even More Cooling
BluHalo creates that valuable air gap under your armor. If you want to take comfort a step further, consider adding Blufano. This advanced fan system circulates fresh air beneath your body armor, giving you ongoing cooling relief. It slides under your armor with a patented air-redirect spout, runs for 8 to 32 hours depending on the setting, and includes a built-in 10,000mAh power bank plus a forward-facing light.
Together, the two make a strong team. BluHalo lifts the vest to open up space, and Blufano keeps fresh air moving through it. Many users bundle them for the best results and a better price. To see how they compare, read BluFano vs BluHalo: which vest cooling system is better, or browse the shop to explore your options.
Comfort matters off duty too. If you are thinking about wellness more broadly, even a visit to a trusted local practice like Segovia Orthodontics can be part of looking after yourself and feeling your best in daily life.
Quick Troubleshooting Guide
Run into a snag? Try these fixes before you give up.
| Problem | Likely Cause | What to Try |
|---|---|---|
| Patch will not stick | Dirty or damp surface | Clean, dry thoroughly, then re-press firmly |
| Edges keep lifting | Not enough pressure | Press and hold longer; smooth edges with your thumb |
| Device shifts during movement | Poor placement or loose patches | Reposition flat and recheck every patch |
| Patch grip weakens over time | Lint or wear | Clean off debris; replace worn parts per manufacturer guidance |
Still stuck? Our team is happy to help, and you can also watch setup demos on our videos page. For a fuller walkthrough of the whole process, take a look at our guide on how to install BluHalo on body armor the right way.
Final Thoughts
Attaching your BluHalo is one of those small jobs that pays off big. Clean the surface, keep it dry, place the deflated unit flat, press the patches firmly, and test the fit. That is the whole recipe. Do it right once, and you can count on steady comfort through long, hot shifts.
Remember that BluHalo is built by someone who has lived the problem. It was created by a Chicago police officer who knew exactly how miserable an overheated vest can feel. Now you can bring that same relief to your own gear. Ready to get started or have a question about your setup? Get in touch with our team and we will gladly help you stay cool, dry, and focused on the job.
FAQs
Q: How do you attach BluHalo Velcro patches to a body-armor carrier?
A: Start with a clean, completely dry carrier. Lay the deflated BluHalo flat inside the carrier, press the patches firmly into place, and hold for several seconds. Then check that all edges are secure and nothing is lifting.
Q: Should I clean my carrier before applying BluHalo patches?
A: Yes, always! Dirt, lint, and moisture can weaken the grip of hook-and-loop patches. A quick wipe or lint roll and a full dry-out gives you the strongest hold.
Q: Can BluHalo patches be sewn or ironed onto a vest?
A: Don’t assume so. Patch types can vary by product version, so follow the instructions that came with your unit. Avoid heat or sewing through the device unless the manufacturer specifically says it is okay.
Q: How can I tell if BluHalo is securely attached before wearing it?
A: Give the unit a gentle tug and check every patch edge for lifting. Then put the carrier on and move around to look for shifting, bunching, or anything that gets in the way of your movement or gear access.
Q: How do I clean or replace worn BluHalo patches?
A: Keep hook-and-loop surfaces free of lint and debris by picking them clean regularly. If a patch wears out, replace or repair it by following the manufacturer’s guidance for your specific unit.